The cloth is your canvas . . . the floss is your paint.
As you prepare to begin your new and exciting cross stitch project, there are several things you must keep in mind.
You will want to choose a design that is appropriate for your skill level. It is not difficult to reach the level of “experienced” when doing cross stitch. It is a very simple needlework method that can be learned quickly and produces a variety of beautiful finished products. You will, however, want to choose a design that you feel comfortable with, and if you have done some (even just a little) cross stitch before, it is not difficult to advance yourself to whatever level you wish.
Fabric
There are many counted thread fabrics available for cross-stitch projects, with various thread counts available for each. Aida cloth is the favorite for full-canvas designs while even-weave linens and other fabrics are more appropriate for designs that don’t cover the entire canvas.
By “entire canvas” we are referring to the fabric you are using (the cloth is your canvas . . . the floss is the paint) and a full-canvas design covers the entire design area. In other words, when finished, the entire design area is covered with stitches. When you purchase the fabric you have chosen, be sure to allow an extra 3 inches on all four sides to accommodate the extra fabric needed for finishing. That would work out to 6 inches on the width and 6 inches on the length. This also makes the stitching easier because you will have the extra fabric to keep every part of the design taut as you stitch, so it serves two purposes.
For more information on different types of fabric available for cross stitch see our article called Choosing the Best Cross Stitch Fabric.
Embroidery Floss
Many floss colors are needed to complete large cross-stitch designs, and we recommend that you make sure you have all the colors you need for the design before you start your project. It is also recommended that you have an empty floss organizer box (large size) and place all the floss bobbins you will need for your project in this box, numerically. Not only will you get to see the whole array of colors you will use in your design, you will also have all of them there so you won’t have to stop in the middle of your design to pick up a needed color.
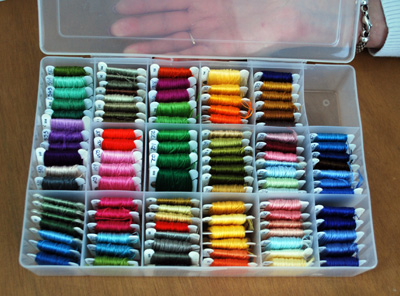
Floss organizer with floss wound on bobbins
Do not stretch your floss when you wind it on bobbins – wrap it carefully as you fill your bobbin, laying the floss side by side instead of randomly winding the floss. Your filled bobbin will be flat and even instead of lumpy and will take up less space in your floss organizer box.

Winding floss on a thread bobbin
Hoops
You will need some sort of hoop or frame to keep your canvas taut as you work on your design. We have used both frames and hoops and have found that a good quality hoop that has non-slip features and a long enough screw to allow for adequate expansion when you are placing it over all the stitches in the completed areas of your design, seems to work the best and is less clumsy than a frame. Plus you can easily take your project with you whenever want. One hoop that we have found to meet all the necessary criteria is the Morgan “No-Slip Hoop” brand. It comes in various sizes (5, 7, 9, 10 and 12 inch). It is more expensive than most of the other hoops, but is definitely worth it. We have found the 7-inch hoop to be a good general size and easy to work with.
Another advantage of the Morgan “No-Slip Hoop” is that it leaves less of an impression on your needlework piece because of its tongue and groove design. Also, since it has such a generous screw length along with the tongue and groove design, you can loosen the hoop when you are through stitching without having to take the hoop completely off. When you’re ready to start stitching again, just tighten the screw and begin stitching.
If you are using a hoop, we recommend putting the inside ring on the top of your fabric with the outside ring on the bottom. The reason for this is that your thread will not be caught as you are stitching on the screw that tightens the hoop, it will be easier when you are working near the edge of the hoop to start and stop your thread, there will be less friction on your completed stitches, and you can hold the wrong side of your fabric over the hoop as you work which will keep your piece cleaner.
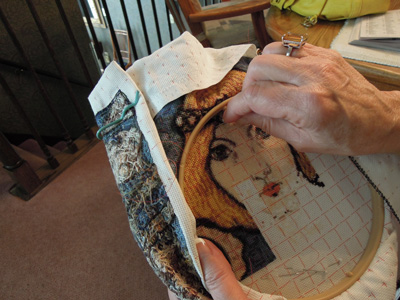
Example of using a hoop
Needles
There are different sizes of needles available for cross stitch (use a “tapestry” needle, not a “sewing” needle). The size of the needle depends on the thread count of your fabric. Needle sizes of 24 or 26 are recommended for thread counts of 18 and above. We have found the 24-size needle to work very well in most thread counts.
Grid Lines
It is a necessity to mark grid lines on your fabric corresponding to your design pattern before you begin working your project. Various methods are used – floss, marking pens (drawing the lines), etc., but the best we have found is a product called “Easy-Count Guideline.” It is a 100% nylon thread that does not get caught up in your stitching, lies on top of the stitches, and is easy to remove after your piece is completed. It comes in a 100-yard spool and costs about $9 per spool. It is available at most needlework shops. If you cannot find a needlework shop that carries it, search for Easy-Count Guideline by R&S Designs on the web.
Most cross stitch design patterns are gridded every 10 threads, horizontal and vertical, but verify this before you start putting in your grid lines. I once did a full-canvas design marking the 10-thread grid line, only to discover after I had finished the gridding that the pattern was gridded every 14 threads. That, of course meant I had to do it all over again. Not happy about that!!
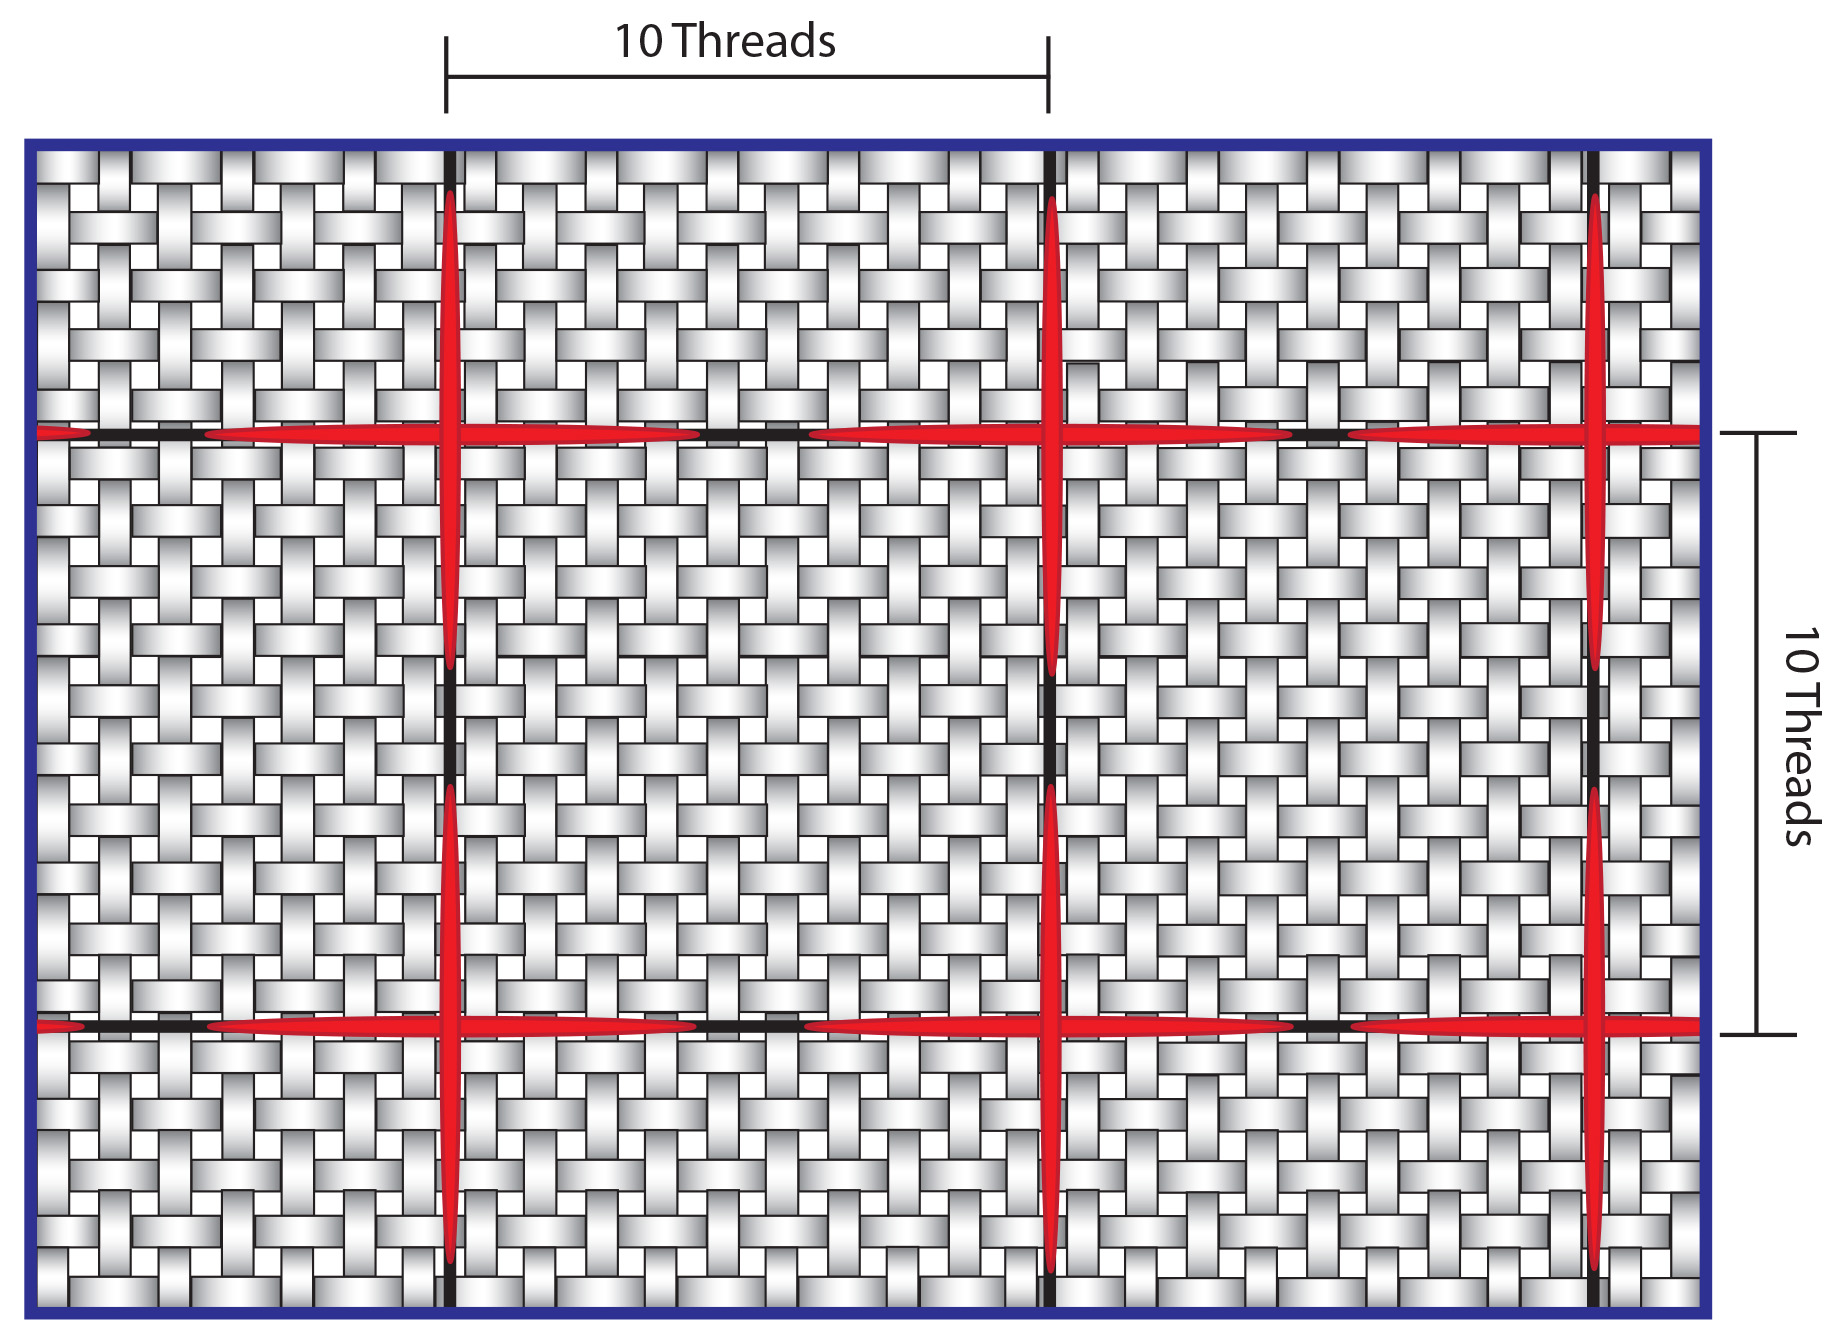
Grid line graphic
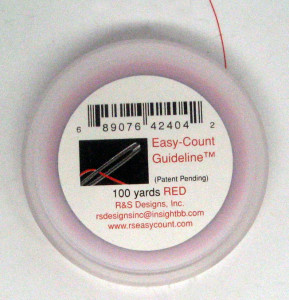
Easy-Count Guideline Thread
Final Thoughts
After you are finished putting the grid lines on your fabric, have all your floss organized and have the correct needle size for the thread count of your fabric, you are ready to stitch. That’s when the fun begins! One last thought, if you are stitching on Aida cloth, be sure the needle goes into the “holes” of the fabric and not into the threads between the holes. This will keep your stitches consistent throughout which will make a beautiful finished project.
Also, the stitches must always be made in the same direction throughout. What that means is, if you do the first stitch of the cross stitch from left to right and the completing stitch from right to left, you must be consistent and do every stitch the same throughout your project. If you don’t you will be very disappointed in your finished piece.
We hope these suggestions will make your cross stitch easier to manage and will create the beautiful project you intended to have.